Step-by-step guide: from registration to a working domain in 10 minutes.
How It Works#
Before you begin, it’s important to understand the basic setup. PrivateFlare is a reverse proxy. It accepts your visitors’ traffic and forwards it to your server (backend), hiding its real IP.
The setup is simple:
Visitor → Your domain → PrivateFlare node → Your backend (server)
Three elements are involved in this chain:
| What | Why |
|---|---|
| Backend | Your real server — tracker, landing page, CMS. We hide its IP. |
| Node | A VPS with the PrivateFlare client installed. Accepts traffic, filters it, proxies it to the backend. There can be multiple nodes. |
| Domain | Your domain. DNS points to the node’s IP, not the backend’s. |
A visitor goes to your domain, reaches the node, the node forwards the request to the backend and returns the response. The visitor never learns the real IP of your server.
A single node can serve an unlimited number of domains. You can have as many domains as you want — all of them will be accessible through any of your nodes.
Step 1. Registration#
- Go to panel.privateflare.com
- Register
- Make sure to activate your account — an activation link will be sent to your email. Without it, nothing will work.
After activation, you will be taken to the control panel.
Step 2. Ordering a VPS (Node)#
A node is a VPS (virtual server) on which we will install the PrivateFlare client. This is not your backend, but a separate disposable server — it accepts traffic and proxies it.
Where to Order#
Any hosting provider with any virtualization type will work. Hosting recommendations are in a separate section.
Which OS to Choose#
Supported operating systems: Rocky 8–9, CentOS 8–9, Debian 10–12, Ubuntu 20–24.
Clean images only! No control panels, pre-installed software, LAMP/LEMP stacks. The installer will set up everything needed on its own.
How Many Resources Are Needed#
| Load | Recommendations | Approximate Cost |
|---|---|---|
| Up to 1,000 visits/day | Any minimal VPS | $2–3/mo |
| 1,000 – 5,000 visits | 2 GB RAM or more | $4–5/mo |
| 5,000 – 50,000 visits | 4 GB RAM or more, 4 cores | $8–15/mo |
| More | Contact support — we’ll help you choose | — |
Step 3. Connecting a Node#
After ordering a VPS, you will receive an IP, login, and password for SSH access.
3.1. Connect to VPS via SSH#
On Windows — use PuTTY or the built-in terminal (Windows Terminal). On Mac/Linux — use the terminal:
ssh root@YOUR_VPS_IP3.2. Get the Installation Command#
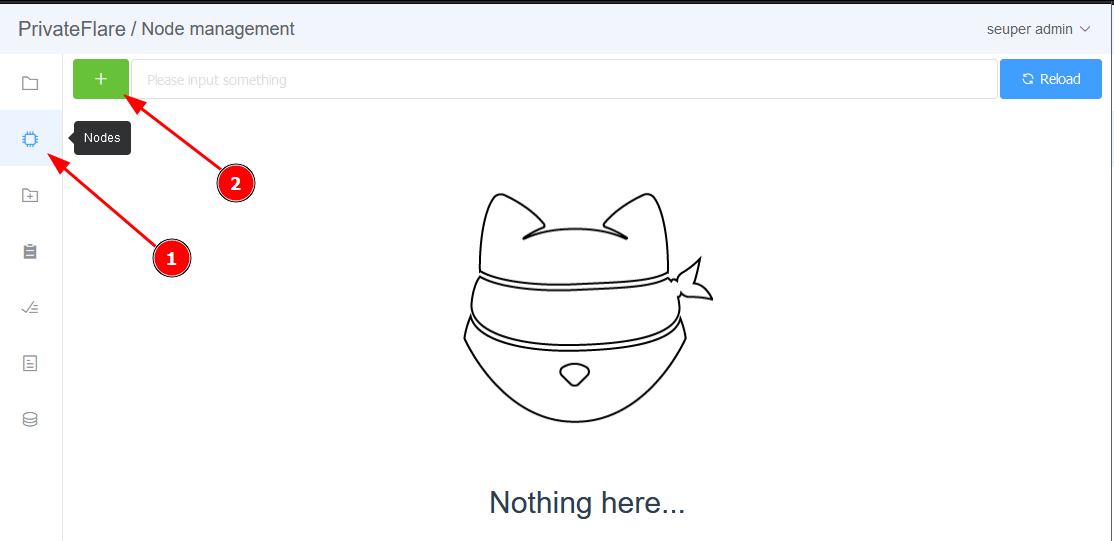
In the PrivateFlare panel, go to the Nodes section and click the “Add node” button.
In the dialog that opens:
- Set a name for the node (can be changed later)
- Copy the installation command

3.3. Run the Installation#
Paste the copied command into the SSH terminal and press Enter. Wait approximately 20 seconds.
Warnings during installation are normal. A successful completion looks like this:

Within a minute, the node will appear in the control panel with an Online status.
Installing a Specific Version#
If you need a specific client version:
curl -s https://repo.privateflare.com/install | bash -s YOUR_TOKEN node_name -build VERSION_IDThe -build flag can be placed anywhere after bash -s.
Step 4. DNS Configuration#
Now you need to point your domains to the node. To do this, in the control panel of your domain registrar (Namecheap, Reg.ru, GoDaddy, etc.):
- Delete old A records
- Add one A record with your node’s IP address
Tip: do this in advance, before adding domains to PrivateFlare. DNS updates can take from 5 minutes to several hours.
You can also use PrivateFlare’s own NS servers (ns1.privateflare.com, ns2.privateflare.com) and manage DNS directly from the panel.
Step 5. Adding Domains#
Go to the Domains section and click “Add domains”.
Main Settings#
| Field | What to Enter |
|---|---|
| Backend | IP address of your backend (tracker, CMS, landing page) |
| Domains | List of domains, one per line |
| SSL | Enable — certificates will be generated automatically |
| Force HTTPS | Enable — all HTTP requests will be redirected to HTTPS |
| Tags | Tags for grouping (optional) |
More details about all settings, including domain masking, are in the Adding Domains section.
After Adding#
- Domains will appear in the list
- If SSL is enabled — certificates will start generating automatically (usually 1–2 minutes)
- The domain status will change to Online when DNS updates and the node can reach the backend
Step 6. Verification#
Open your domain in a browser. If you see content from the backend — everything is working.
If something is wrong:
- Check that DNS has updated:
ping your-domain.comshould show the node’s IP - Make sure the backend is directly accessible by IP
- If the certificate is not generating — see troubleshooting
- Contact support — we’ll help you figure it out
What’s Next#
After the basic setup, we recommend exploring:
- Domain protection settings — JS Challenge, WAF, geo-filtering, traffic limit
- Monitoring and notifications — availability tracking
- DNS service and GeoDNS — own NS servers with geo-routing
- HTTP API — automation via API